The Five-Minute Face When You Wear a Helmet or a Hat
Quick Answer: Makeup under a helmet or hat fails at three points: the forehead where the pad or brim presses, the hairline where sweat runs, and the brows and lashes which get flattened. Use less product rather than more, skip anything cream or dewy on the forehead, set the T-zone before you put the helmet on, and do your eyes and lips after you take it off. Total time is still five minutes; it is just split into two parts.
You cycle in, or you walk in a cap, or you ride, and by the time you arrive the base has slid, the forehead is shiny where it was matte and matte where it was not, and the fringe is doing something structural.
Nothing about this is fixed by better products. It is fixed by doing the routine in two halves.

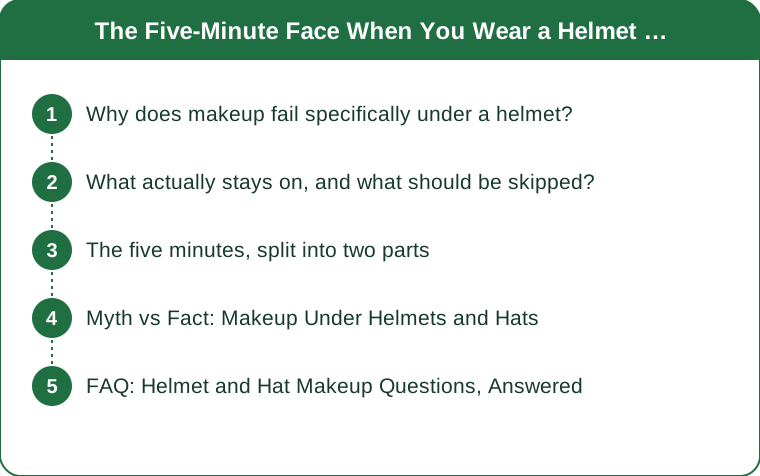
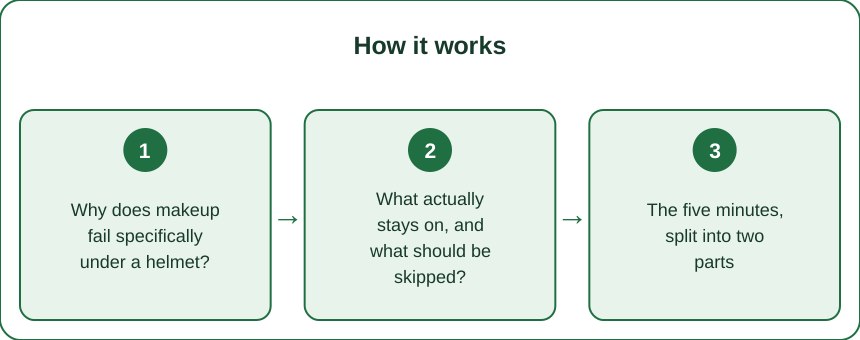
Why does makeup fail specifically under a helmet?
Three separate mechanisms, in three separate zones.
Pressure and friction at the forehead. A helmet pad or a hat band presses on the forehead and moves slightly with every bump. Any product there is being physically rubbed off and into the hairline. This is why the forehead is the first thing to go and why it goes patchily rather than evenly.
Sweat and heat under an enclosed shell. A helmet is an insulated dome. Even in cool weather the head loses heat through it slowly, and the trapped humidity is high. Foundation and concealer are emulsions, and heat plus moisture breaks them down, which is what people describe as the base sliding.
Occlusion at the hairline. The band traps sweat and product against the skin along the top edge, which is both why the hairline gets shiny and why some people get small breakouts along it. Anyone who wears a helmet daily and has spots in a line across the forehead is looking at this.
A fourth, less obvious one: the lashes and brows get flattened. A visor, a brim or the front pad of a helmet contacts the brow area, and mascara transfers onto the pad and prints onto the skin above the lashes.
What this tells you about the fix: the forehead needs the least product and the most setting, and everything mobile — eyes, lips, cheek color — should happen after the helmet comes off.
What actually stays on, and what should be skipped?
Skip on the forehead entirely, or use the barest amount: foundation, tinted moisturizer, cream anything, illuminating primer, dewy finishes. Everything in this category is designed to sit on the surface and stay flexible, which is the exact opposite of what a pressure point needs.
What works instead: treat the forehead as skincare only, plus setting powder. Sunscreen — which you need anyway if you are outdoors — then a light dusting of a matte setting powder, and nothing else. The forehead genuinely looks fine bare in a way people do not expect until they try it, and it is by far the highest-return change here.
On the rest of the face, choose transfer-resistant over long-wearing. Those are different claims. Long-wearing means it does not break down over hours; transfer-resistant means it does not come off on things it touches. Under a helmet you need the second.
Specific product behavior:
Powder products outperform cream and liquid ones everywhere the helmet touches. Cream blush high on the cheek is fine; cream anything on the temple is not.
Tinted sunscreen or a skin tint is a better base than foundation for this, because there is less of it and it sits closer to the skin.
Waterproof mascara is worth it here specifically, and a lash curler before rather than more product.
Brow gel rather than powder or pencil, because gel binds the hairs and survives being pressed.
A lip balm or stain, applied after arrival, rather than anything applied before that will end up on a chinstrap.

The five minutes, split into two parts
Before you leave — about three minutes, forehead-focused:
- Skincare, thin layers, fully absorbed. Anything still tacky when the helmet goes on will move. Give it a full minute.
- Sunscreen. Non-negotiable if any of this is outdoors, and it is the layer people skip because it feels like it will slide — a matte or dry-touch formula solves that.
- Skin tint or tinted sunscreen on the cheeks, nose and chin only. Keep it off the forehead and away from the hairline.
- Concealer where you actually need it, pressed in with a finger rather than blended with a brush, so it is bonded to the skin rather than sitting on it.
- Setting powder on the forehead, temples and hairline. This is the step that does the most work and the one people leave out.
- Brow gel.
- Hair: this matters more than any product. Anything that will be pressed flat should be secured before the helmet, not after. A low bun or a braid at the nape avoids the pressure zone entirely; a high ponytail does not fit under most helmets and creates a dent.
After you arrive — about two minutes:
- Blot the forehead and hairline with a tissue. Do not add powder on top of sweat; remove first.
- Mascara, curled lashes first.
- Cream blush and lip. Both applied now rather than earlier, because both are the things that transfer.
- Hair down, or reshaped, with fingers and a little dry shampoo at the roots where the band sat.
Total: five minutes. The split is what makes it work, not the products.
Myth vs Fact: Makeup Under Helmets and Hats
Myth: Setting spray will hold it in place. Fact: Setting spray helps with general longevity and does very little against direct mechanical friction. A pad rubbing on a forehead will remove product regardless of what was sprayed on it. Reducing the amount of product at the friction point is the only thing that reliably works.
Myth: More powder means less shine later. Fact: Past a certain point, extra powder mixes with sweat and creates a texture that looks worse than bare skin. A light setting layer before, and blotting rather than re-powdering after, gives a much better result.
Myth: Helmet acne is caused by the helmet being dirty. Fact: Partly, and mostly it is occlusion — trapped sweat, heat and product against skin under pressure. The pads being clean helps and is not the whole story. Washing removable helmet pads every few weeks is worth doing regardless.
Myth: You need special sweat-proof makeup. Fact: The category helps at the margins. The bigger lever by a distance is which zones you put product on and when in the sequence you apply it. Someone doing the two-part routine with ordinary products will get a better result than someone doing it all at once with expensive ones.
FAQ: Helmet and Hat Makeup Questions, Answered
What about the hairline breakouts?
Wash your face when you arrive if you can — even just water and a wipe along the hairline. Clean your helmet pads regularly. And keep heavy silicone-based primers off the hairline specifically, since that is the zone with the worst combination of occlusion and product.
Does this apply to a wool hat in cold weather too?
Same principles, milder version. Less sweat, still friction and still flattening. The forehead-light approach and the two-part sequence both transfer directly, and the added issue is static, which a little leave-in product at the ends handles.
How do I deal with helmet hair if I cannot wash it?
Dry shampoo at the roots where the band sat, applied before you put the helmet on rather than after — it absorbs as it goes rather than sitting on damp hair. Then fingers, not a brush. A brush after a helmet creates volume everywhere except where you need it.
Is it worth just not wearing makeup for the commute?
For a lot of people, honestly yes — do the skincare and sunscreen before, and the whole face on arrival. That is the four-minute version and it produces the best result of any of these. It only fails if you have nowhere to stand at the other end.
TL;DR:
- Makeup under a helmet fails at three points: the pressed forehead, the sweaty hairline, and flattened brows and lashes.
- Keep the forehead nearly bare — skincare, sunscreen, setting powder, nothing else.
- Choose transfer-resistant over long-wearing, powder over cream at every contact point.
- Split the routine: base and brows before, mascara, blush and lip after you arrive.
- Secure the hair low, at the nape, before the helmet goes on.
Five minutes total, just in two pieces. The most common mistake is doing the whole face at home and then repairing it on arrival — which takes longer and never quite works.
Keep Reading
This article is for general informational and styling purposes only. Fit, sizing, and product availability may vary.